
9 STRETCHES FOR LOWER BACK PAIN RELIEF — DO THEM IN THIS EXACT ORDER
The order matters more than the stretches themselves. Here's why.
Most lower back pain stretching guides give you a list. Some stretches. Generic instructions. A disclaimer. Then nothing.
You try them in random order, feel slightly better for 20 minutes, and wake up the next morning right back where you started.
Here's what those posts don't tell you: sequencing is everything.
If you stretch a tight muscle before you decompress the spine that's compressing it, you're pulling against resistance. You'll get maybe 30% of the benefit. But if you decompress first — create space in the vertebrae and discs — then stretch into that open space, you get the full release the stretch is capable of delivering.
That's the protocol our customers use. It's what 29,000 people have built into their morning and evening routines. And it's what you're about to learn — including the one step at the end that makes everything else stick.
This sequence takes 12 minutes. Do it daily. You'll feel the difference within a week.

Why Most Stretching Doesn't Fix Lower Back Pain
Before we get into the sequence, you need to understand one thing that almost nobody tells you.
Lower back pain has two distinct drivers:
Driver 1: Muscle tension. Tight hip flexors, piriformis, hamstrings, and lumbar erectors pull your pelvis out of alignment and create constant compressive force on the spine. Stretching addresses this.
Driver 2: Disc compression. Every hour you sit, the pressure inside your lumbar discs increases. Over a full day of sitting, the discs lose fluid, the vertebrae move closer together, and the nerves between them have less room. By evening, your back hurts more than it did at breakfast — not because you did anything wrong, but because gravity and posture won.
Stretching addresses Driver 1 but not Driver 2.
That's why people who stretch religiously still have chronic lower back pain. They're addressing half the problem.
The sequence below is designed to address both — starting with decompression, then moving through targeted stretches that work from the outermost muscles inward, finishing with a tool-assisted decompression that the stretches alone can't replicate.
The Morning Sequence (5 Minutes)
Do stretches 1–4 when you wake up, before you get out of bed or right after
Morning is when your discs are most hydrated and your spine is most responsive. These four movements take less than 5 minutes and will change how your entire day feels.
Stretch 1: Knee-to-Chest (Lumbar Decompressor)
Time: 30 seconds per side | Sets: 2 per side
Why this goes first: Brings your lumbar vertebrae into flexion, creating the initial space between discs. Think of it as opening the door before you walk through it. Every stretch that follows will be more effective because of this one.
How to do it: Lie on your back with both knees bent, feet flat. Bring one knee up toward your chest and hold it with both hands just below the kneecap. Keep your other foot flat on the floor — don't let it float up. Hold 30 seconds, breathing slowly. Switch sides.
The mistake most people make: Gripping the shin instead of behind the knee. This rotates the hip and reduces the lumbar stretch by about half. Hands go behind the knee, always.
What you should feel: A long, slow release across your lower back and into the top of your glute. If you feel nothing, pull the knee slightly more toward the opposite shoulder.

Stretch 2: Cat-Cow (Spinal Mobilizer)
Time: 60 seconds | Sets: 1 continuous
Why this goes second: Warms up the facet joints, pumps synovial fluid into the spinal joints, and begins moving the vertebrae through their full range of motion. This is the bridge between decompression (Stretch 1) and the deeper targeted stretches ahead.
How to do it: Come onto your hands and knees, wrists under shoulders, knees under hips. Inhale: let your belly drop toward the floor, lift your head and tailbone (Cow). Exhale: round your entire spine toward the ceiling, tuck your chin and tailbone (Cat). Move slowly and continuously for 60 seconds. Let your breath drive the movement.
The mistake most people make: Only moving the upper back. The lumbar spine should flex and extend on every rep. Consciously think about your lower back leading each direction change.
What you should feel: A gentle, fluid movement through every vertebra. Stiffness at any point in the range means that's where you need to slow down and breathe into it.

Stretch 3: Child's Pose (Full Spinal Decompressor)
Time: 60 seconds | Sets: 1
Why this goes third: Takes the spinal decompression from Stretch 1 and extends it through the full lumbar and thoracic spine simultaneously. This is the most important stretch in the sequence for people with disc-related pain.
How to do it: From hands and knees, bring your big toes together and spread your knees wider than your hips. Sit your hips back toward your heels as you walk your hands forward on the floor. Let your forehead rest on the floor or a pillow. Arms extended, palms flat. Hold for 60 seconds, breathing deeply — each exhale should allow you to sink slightly deeper.
The mistake most people make: Keeping the knees together. Wide-knee Child's Pose creates space for the belly between the thighs and allows a much deeper lumbar release. Knees together turns it into a hip stretch, not a back stretch.
What you should feel: A long, sustained stretch from your lower back all the way up to your shoulders. If you feel pinching in your knees, place a rolled towel behind them.

Stretch 4: Pelvic Tilt (Core Activation + Lower Back Reset)
Time: 60 seconds | Sets: 2
Why this goes fourth: Activates the deep stabilizing muscles of the lumbar spine and begins resetting pelvic alignment. Most lower back pain is partially driven by weak core engagement — this stretch starts the re-education process.
How to do it: Lie on your back, knees bent, feet flat, arms at your sides. Gently flatten your lower back against the floor by tightening your abdominals — imagine pressing your belly button down toward your spine. Hold 5 seconds. Release. Repeat for 60 seconds (10–12 reps per set).
The mistake most people make: Using the glutes instead of the core. If your hips are lifting off the floor, you've converted this into a bridge — which is a great exercise, but a different one. The lower back stays ON the floor throughout. Only the lumbar curve flattens.
What you should feel: Mild tension in your lower abdominals. Your lower back should feel pressed firmly against the floor at the peak of each contraction.

The Evening Sequence (7 Minutes)
Do stretches 5–9 after work, before dinner, or right before bed
Evening is when the cumulative load of the day has compressed your spine most. This sequence is designed specifically to undo that damage and allow your discs to re-hydrate overnight — making the next morning's pain dramatically less severe.

Stretch 5: Piriformis Stretch / Figure-Four (Sciatic Nerve Relief)
Time: 45 seconds per side | Sets: 2 per side
Why this goes first in the evening: The piriformis muscle sits directly on top of the sciatic nerve. When it's tight — which it always is after a day of sitting — it compresses the nerve and causes the radiating pain that most people call "sciatica." Release the piriformis and you often release the leg pain along with it.
How to do it: Lie on your back, both knees bent. Place your right ankle just above your left knee, foot flexed. Either stay here if you already feel a stretch, or bring both legs toward your chest by threading your right hand through the gap and clasping hands behind your left thigh. Hold 45 seconds. Switch sides.
The mistake most people make: Letting the foot go limp. Keep the flexed foot active throughout — dorsiflexion (toes toward shin) is what protects the knee joint and deepens the piriformis stretch simultaneously.
What you should feel: A deep stretch in the outer glute and hip of the top leg. If you feel it in your knee instead, your foot has gone limp — flex it immediately.

Stretch 6: Supine Spinal Twist (Thoracic Decompressor)
Time: 45 seconds per side | Sets: 1 per side
Why this matters: Hours of sitting create compression not just in the lumbar spine but through the thoracic (mid-back) region as well. The thoracic spine has very little natural mobility and tightens quickly under postural load. This twist restores rotational movement and takes pressure off the facet joints on both sides.
How to do it: Lie on your back, arms extended in a T. Bring both knees to your chest, then lower them slowly to the right while keeping both shoulders flat on the floor. Look to the left. Hold 45 seconds. Bring knees back to center and repeat to the other side.
The mistake most people make: Letting the top shoulder peel off the floor. The effectiveness of this stretch depends entirely on the shoulder-to-floor connection creating the rotational resistance. If your shoulder lifts, place a light hand on the top knee to help keep it down, and let the shoulder settle.
What you should feel: A wringing, releasing sensation through your mid and lower back. A gentle crack or pop is completely normal and indicates facet joint decompression.

Stretch 7: Hip Flexor Lunge Stretch (Root Cause Attacker)
Time: 45 seconds per side | Sets: 2 per side
Why this is non-negotiable for desk workers: Tight hip flexors — specifically the iliopsoas — are the hidden driver of most desk-worker lower back pain. When the hip flexor shortens from hours of sitting, it pulls the lumbar spine into an anterior tilt, chronically compressing the L4-L5 and L5-S1 discs. No amount of back stretching will fix lower back pain caused by a tight hip flexor. You have to go directly at it.
How to do it: From standing, step your right foot forward into a lunge. Lower your left knee to the floor (use a folded towel under the knee for comfort). Keep your torso upright — don't lean forward. Push your left hip gently forward and down. Hold 45 seconds. Switch sides.
The mistake most people make: Leaning the torso forward. This converts the stretch from a hip flexor stretch into a quadriceps stretch. Stay tall. If anything, lean very slightly backward.
What you should feel: A deep pull in the front of the back thigh, just below the hip joint. That pulling sensation is the iliopsoas releasing — possibly for the first time all day.

Stretch 8: Hamstring Stretch (Lower Back Tension Releaser)
Time: 30 seconds per side | Sets: 2 per side
Why tight hamstrings wreck your lower back: Your hamstrings attach to the bottom of your pelvis. When they're tight, they pull the pelvis into a posterior tilt — flattening your lumbar curve and putting the lower back into a chronically stressed position. This is why hamstring stretching is on every physical therapist's protocol for lower back pain, without exception.
How to do it: Lie on your back. Loop a towel, belt, or resistance band around one foot. Extend that leg toward the ceiling, keeping it as straight as comfortable. Gently pull the band to increase the stretch. Hold 30 seconds. Switch sides. Keep the opposite leg flat on the floor.
The mistake most people make: Bending the knee to make it easier. A bent knee hamstring stretch is not a hamstring stretch. If you can't straighten the leg, bring it to 45 degrees and work from there — the leg needs to be straight to stretch the hamstring.
What you should feel: A pulling sensation along the entire back of the thigh. Nothing in the knee. If you feel it in the knee, back off the angle slightly.

Stretch 9: Supported Bridge (Glute Activator + Final Lumbar Reset)
Time: 10 reps, 5-second hold each | Sets: 2
Why this closes the sequence: Your glutes are the primary stabilizers of your lumbar spine. When they're weak or inhibited — which they almost always are in people with chronic lower back pain — the lower back muscles overcompensate. This is the source of the constant tightness and fatigue that never fully resolves. Closing the sequence with glute activation sends the spine to rest in a supported, stable position.
How to do it: Lie on your back, knees bent, feet flat and hip-width apart. Engage your core, then press through your feet to lift your hips until your body forms a straight line from shoulders to knees. Squeeze your glutes at the top — hard. Hold 5 seconds. Lower slowly. Repeat 10 times. Rest 30 seconds. Repeat set.
The mistake most people make: Letting the hips sag or the knees cave inward. Keep your knees directly over your second and third toes throughout. If they're caving, place a folded towel between your thighs and squeeze it to activate the hip abductors.
What you should feel: Significant work in the glutes, mild work in the hamstrings, very little in the lower back. If your lower back is doing the work, your glutes have switched off — rest 10 seconds and try again with a more deliberate glute squeeze before lifting.

The Step Almost Everyone Skips (And Why It Makes Everything Else Work Better)
Here's the honest truth: these 9 stretches address muscle tension, joint mobility, and muscle activation. They are necessary and they work.
But they don't decompress your discs.
Every hour you sit, intradiscal pressure increases. By the end of a standard workday, your lumbar discs have been under compressive load for 8–10 hours. Stretching releases the muscles around them — but the disc compression itself requires something different: passive, sustained, gravity-assisted traction.
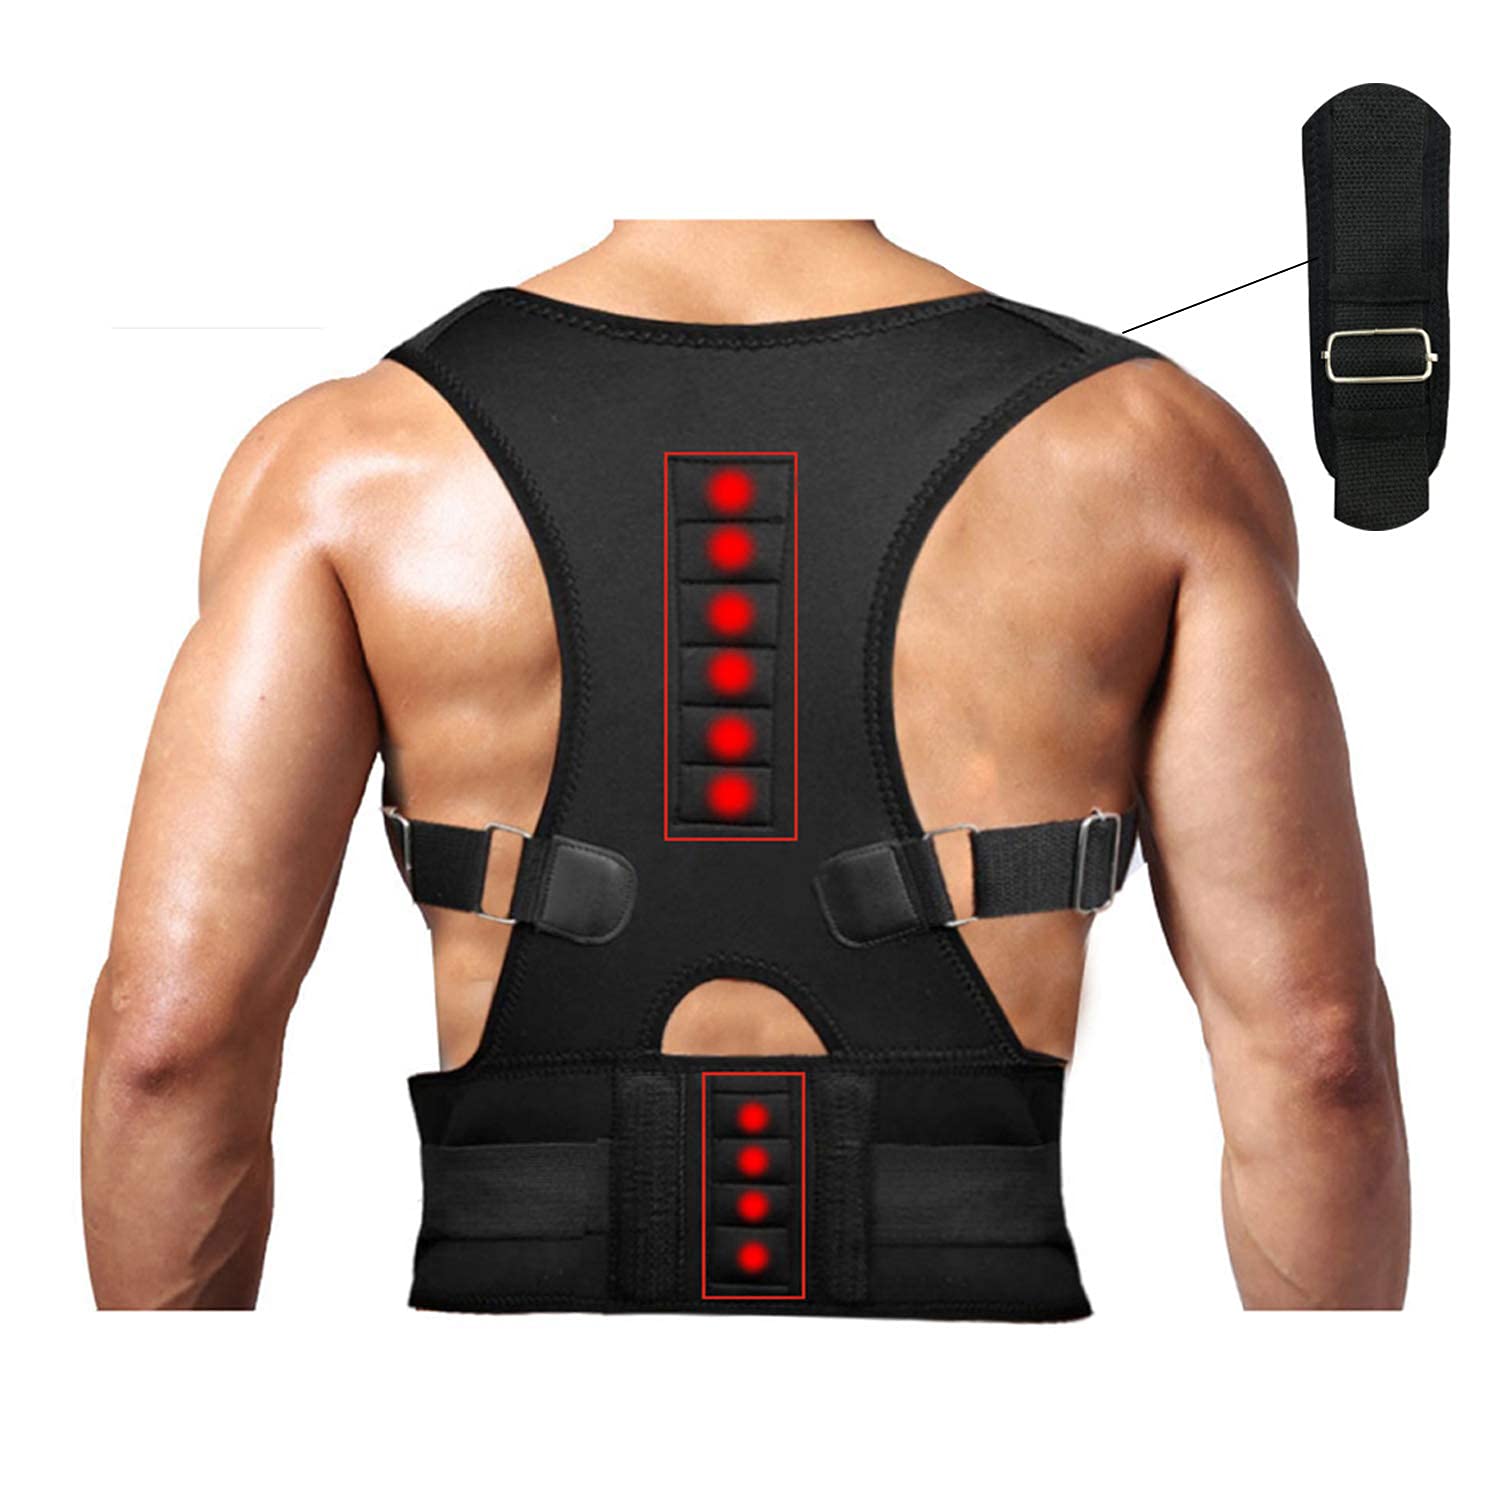
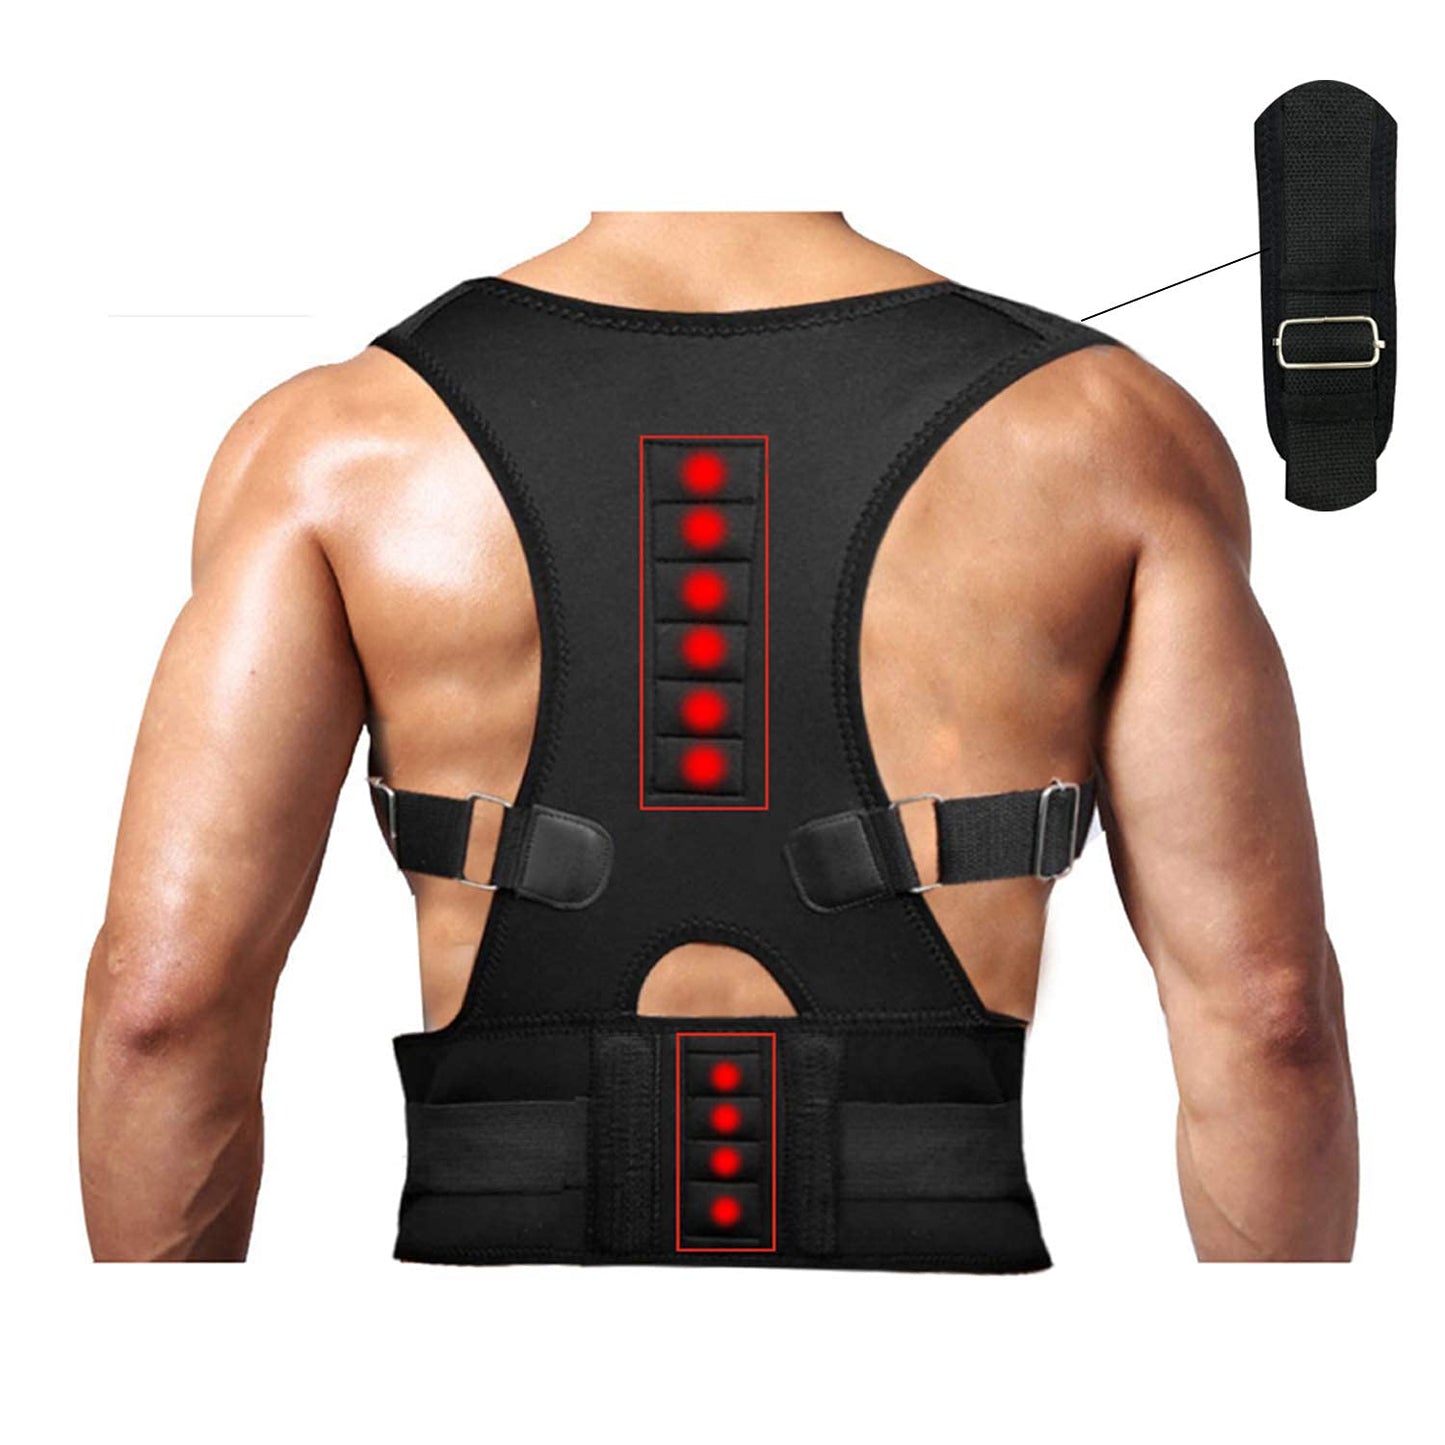
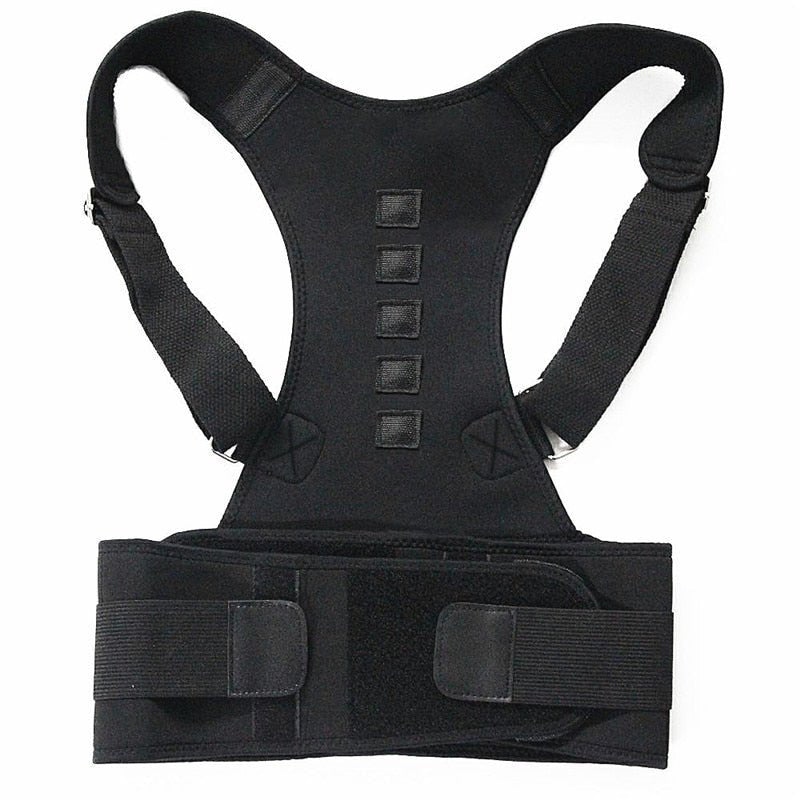
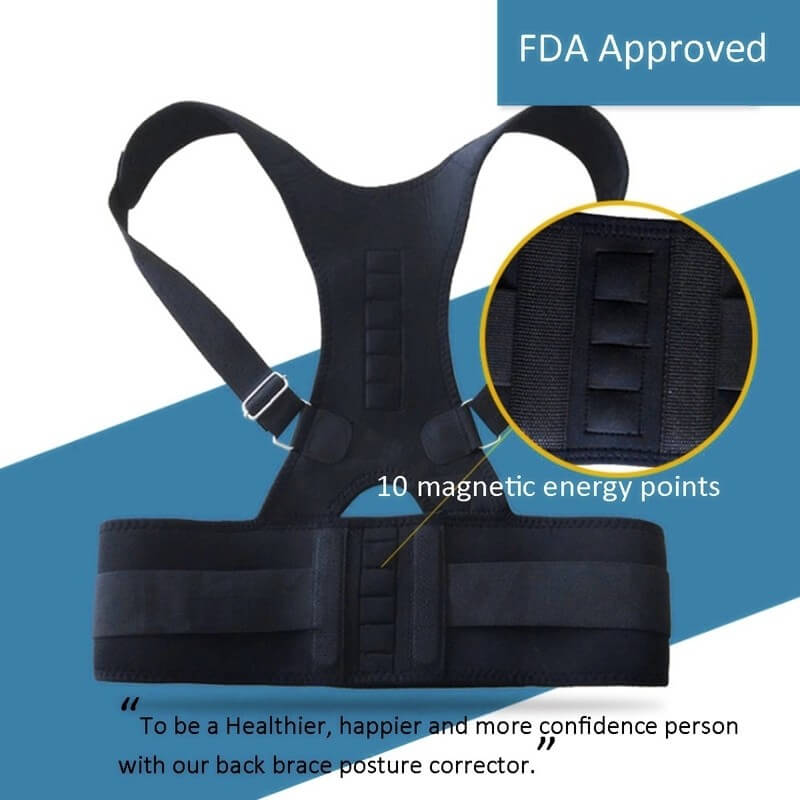
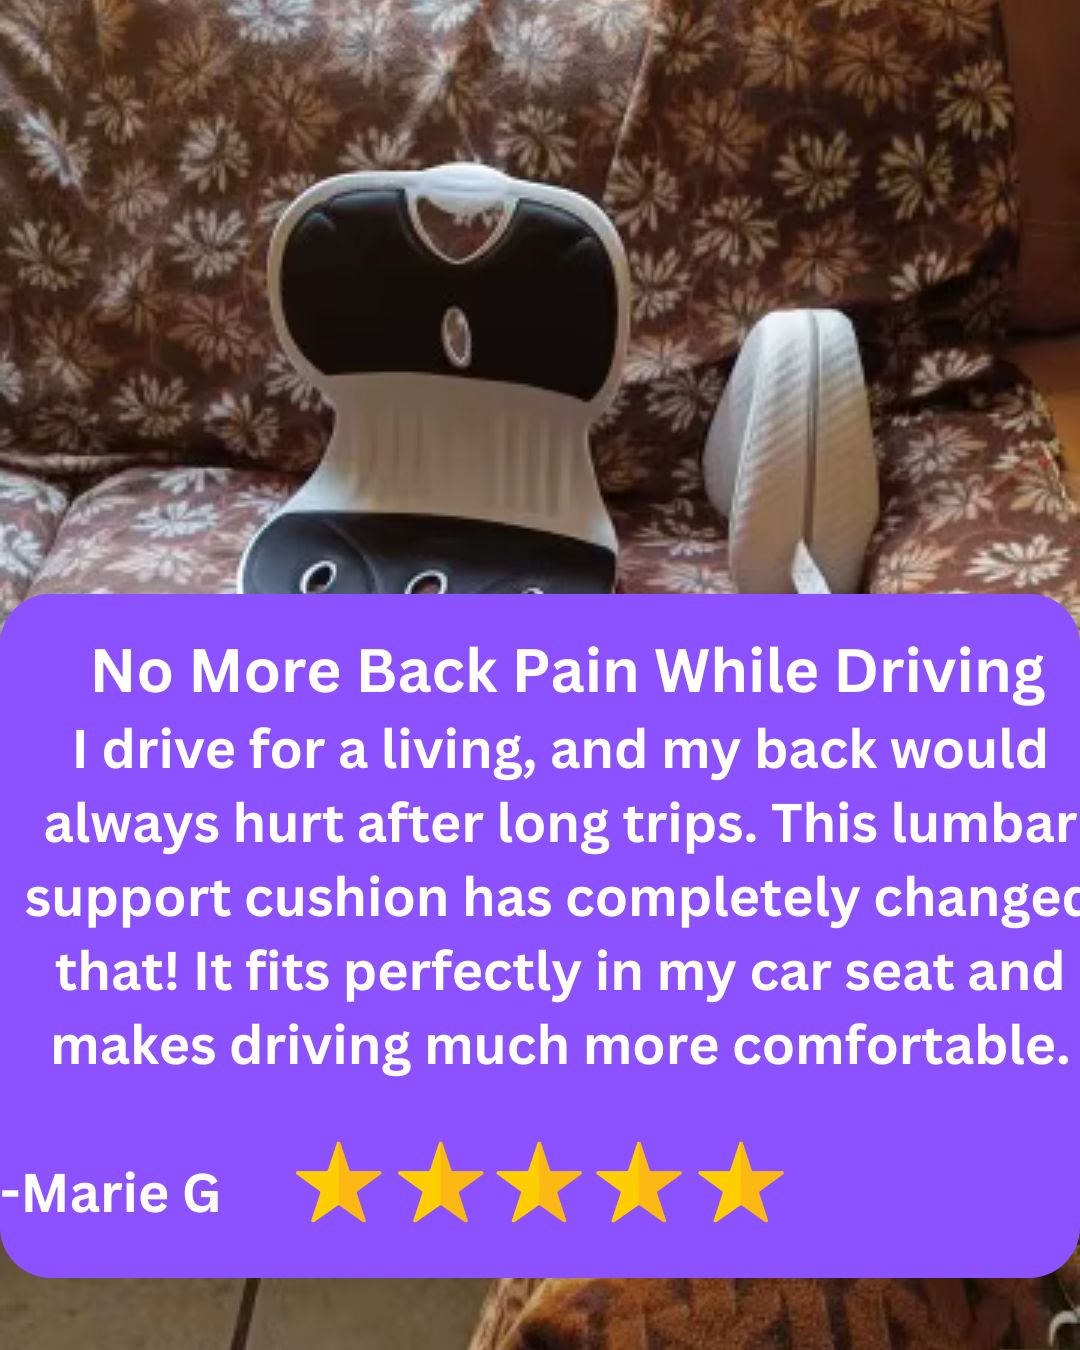
This is exactly what the OptimalBack Back Stretcher does.
Its 26-degree arch — calibrated specifically for lumbar decompression — applies gentle, consistent traction to the lumbar vertebrae. Lying on it for 10 minutes after your evening stretch sequence reverses the disc compression accumulated over the day, promotes disc re-hydration, and takes the chronic load off the nerves between L4-L5 and L5-S1.
When you combine the 9-stretch sequence above with 10 minutes on the Back Stretcher:
- The stretches open the surrounding muscles and fascia
- The Back Stretcher decompresses the discs those muscles were protecting
- Your spine goes to sleep re-hydrated instead of compressed
- Morning stiffness begins to reduce within the first week
This is why our customers don't just feel better — they stay better.
"I've been doing stretches for years and always got temporary relief. The back stretcher is the first thing that actually changed my baseline. I wake up without pain now for the first time in 5 years." — Sandra K., verified OptimalBack customer
[Try the OptimalBack Back Stretcher — 30-day money-back guarantee + free US shipping →]
Your 12-Minute Daily Protocol (Summary)
Morning — 5 minutes (do before getting out of bed or right after)
- Knee-to-Chest — 30 sec each side, 2 sets
- Cat-Cow — 60 seconds continuous
- Child's Pose — 60 seconds
- Pelvic Tilt — 60 seconds, 2 sets
Evening — 7 minutes (do after work or before bed) 5. Piriformis / Figure-Four — 45 sec each side, 2 sets 6. Supine Spinal Twist — 45 sec each side, 1 set 7. Hip Flexor Lunge — 45 sec each side, 2 sets 8. Hamstring Stretch — 30 sec each side, 2 sets 9. Supported Bridge — 10 reps × 2 sets
Optional but highly recommended (add to end of evening sequence): Back Stretcher — 10 minutes at the 26-degree arch setting
Frequently Asked Questions
Q: How long before these stretches help with lower back pain? Most people notice reduced morning stiffness and less afternoon pain within 7–10 days of consistent daily practice. The key word is consistent — doing the sequence 5 out of 7 days will produce results. Doing it once a week will not.
Q: Should I stretch if my lower back pain is acute (just started)? For new, sudden-onset pain: yes to Stretches 1–4 (gentle floor work), proceed carefully with 5–8, and skip the Bridge until the acute phase passes. If the pain is severe or came from an injury, see a healthcare provider before beginning any stretching routine.
Q: What if I feel pain during a stretch? Sharp or shooting pain means stop immediately. A stretch sensation — a pulling feeling of mild intensity — is normal and expected. There is a clear difference between a stretch and a pain signal. Trust your body. Discomfort that worsens during a stretch (rather than gradually easing) is a sign to reduce the intensity or skip that stretch for now.
Q: Is it better to stretch in the morning or evening for lower back pain? Both, ideally — which is why this guide separates them. Morning stretches address overnight stiffness and set your spine up for the day. Evening stretches undo the accumulated compression and tension from the day's activities. If you can only do one, do the evening sequence — it addresses a more significant driver of chronic pain.
Q: Can a back stretcher replace these stretches? No — they work through different mechanisms. The stretches address muscle tension, joint mobility, and muscle activation. The back stretcher addresses disc compression. Neither replaces the other. They are most effective when used together as a complete daily protocol.
Q: How is this different from what a physical therapist would prescribe? This sequence aligns with standard physical therapy protocols for non-specific lower back pain. The additions — sequencing logic, the "common mistake" for each stretch, and the decompression step — reflect patterns observed across 29,000+ OptimalBack customers and are grounded in spinal biomechanics research. For personalized guidance or if you have a diagnosed condition, a licensed physical therapist is your best resource.
This content is for informational purposes only and is not a substitute for professional medical advice. If you have severe, sudden, or worsening pain, or pain accompanied by numbness, weakness, or bladder/bowel changes, consult a healthcare professional immediately.